STEP 2: ASSEMBLING THE SHAPER COMPONENTS YOU WILL NEED TO GET STARTED
To view a brief (few-seconds long) video clip of each step being
performed click on this icon
 wherever you see it.

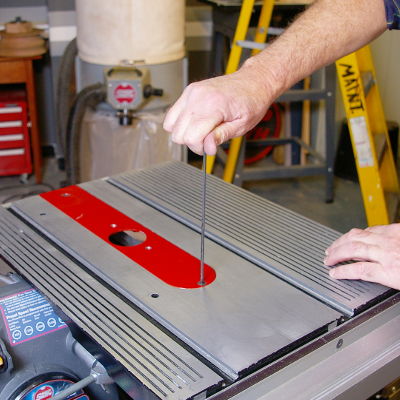
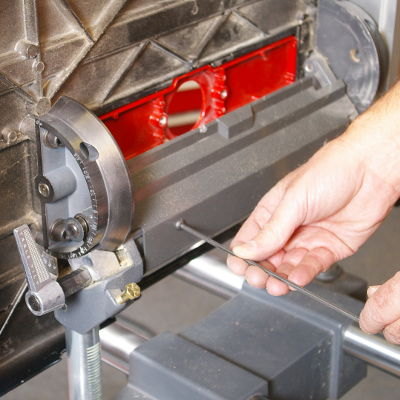
Using your 5/32" Allen wrench, remove your sawing table
insert and replace it with the shaper/router table insert. Then
replace the insert setscrews and tighten with your 5/32"
Allen wrench. NOTE: If the dust collection chute
is attached to the bottom of the insert, remove it prior to
attaching the insert to the worktable.


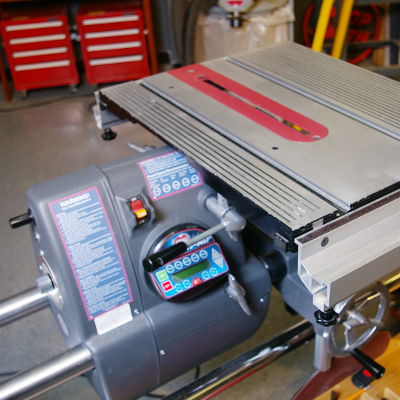
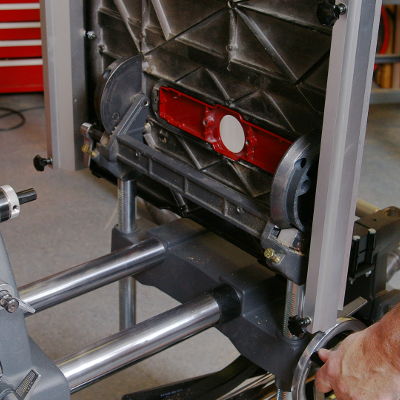
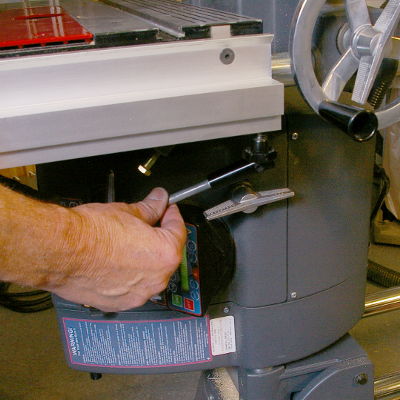
Remove the worktable from the carriage by loosening the table
height Lock and lifting the table straight up, as shown. Rotate
the Table 180", so its surface faces the opposite direction
and remount it into the carriage by placing the table support
tubes into the carriage mounting holes. NOTE:
If the table doesn't slip into the carriage easily, gently rock
it front-to-back until the support tube racks engage the pinions
and the tubes drop into the carriage holes.


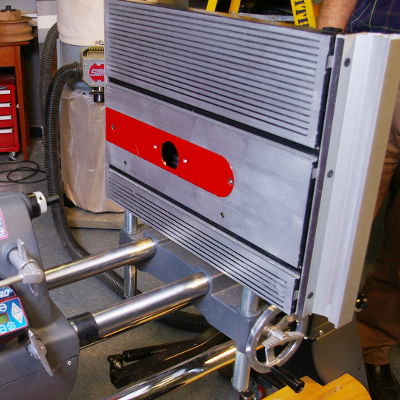
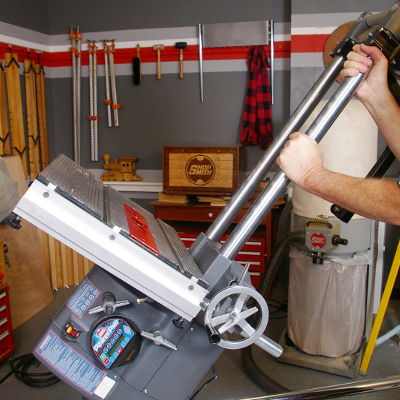
Grasp the way tubes (close to the right-hand base mount) with
both hands and raise the MARK 7
into inverted vertical position. Be sure the arm lock knob is
loose before raising. Tighten the locking knob on the base mount,
then attempt to rock the way tubes side-to-side. If the way
tubes move, re-tighten the locking knob to take any play out of
the base pivot and keep the machine from wobbling.


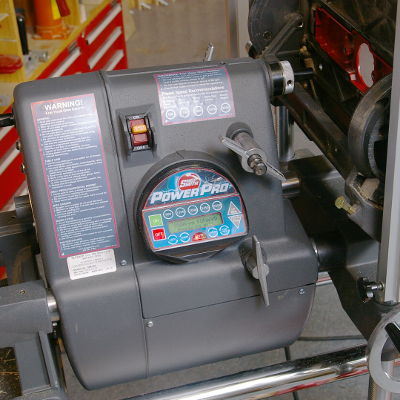
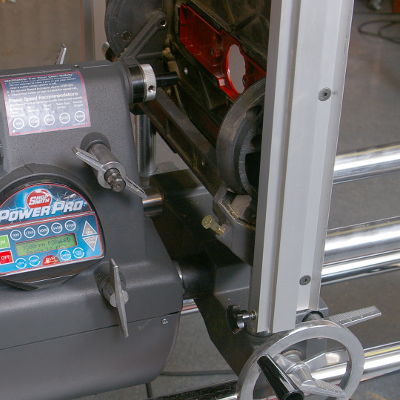
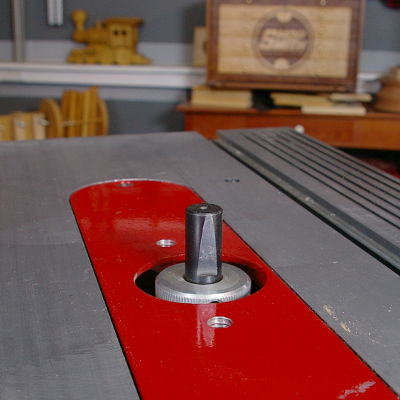
Loosen the quill feed lock and the table height lock. With one
hand, turn the quill feed handle to raise the quill spindle up
through the hole in the shaper table insert. At the same
time, with the other hand, use the table height crank handle to
move the worktable in-and-out until the quill spindle is centered
in the hole of the shaper table insert. Secure the table
height lock and quill lock, being certain that the shaper arbor
quill spindle is above the worktable surface.


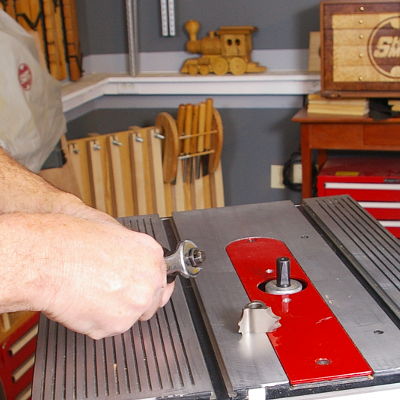
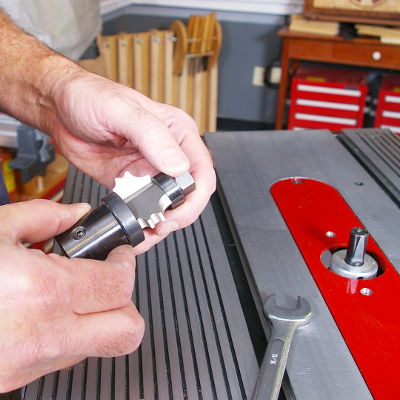
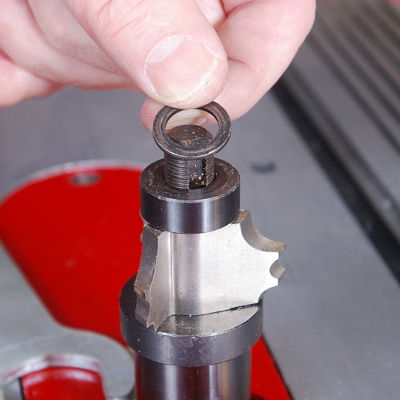
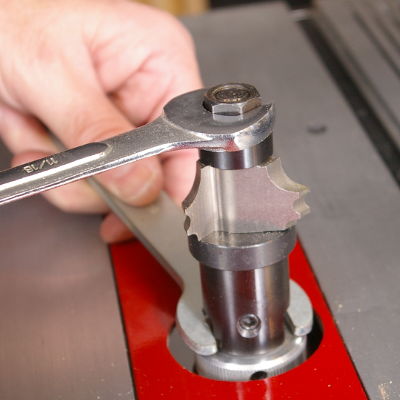
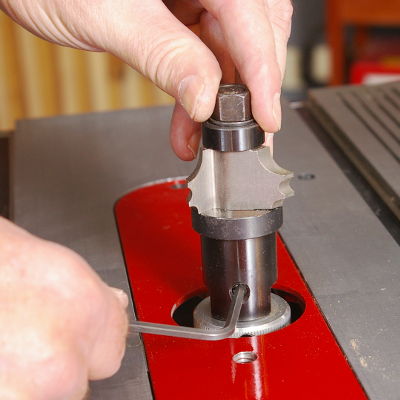
Using an 11/16" wrench and a 1" wrench, remove the hex nut and rub collars on the end of the shaper arbor. For illustration purposes, we'll be using the bead & quarter-round cutter in our operational steps which follow. First, slip the 1-1/2" rub collar back onto the arbor, followed by the bead & quarter-round cutter.
WARNING: For this example, the cutter will
rotate counter-clockwise as seen from the top. The cutter MUST be
installed so the flat, cutting surface is facing to the right.
The stock must be fed from right-to-left, AGAINST the rotation
of the cutter.


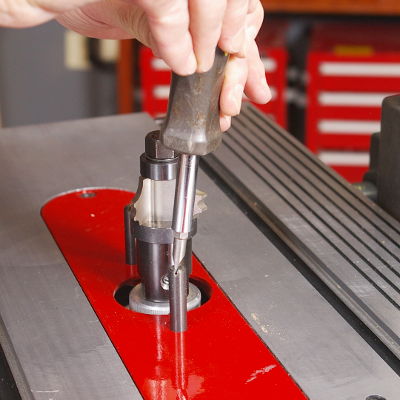
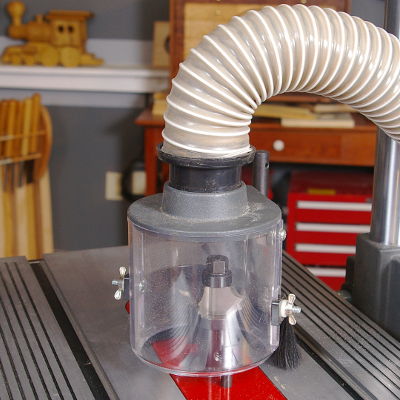
Attach the shaper guard assembly to the worktable by sliding the T-Nut that's attached to the guard post into the worktable's miter gauge T-slot that's closest to the carriage. Tighten the guard post by inserting your 5/32" Allen wrench through the small hole on the top of the post and twisting the post clockwise.
NOTE: Slide the T-Nut into the slot from the OUTFEED side of the cutter/worktable and be certain that it's positioned so the guard's shield fits over BOTH pins in the table insert with its bottom edge 1/8" above the workpiece.
Finally, lower the shield brush assembly so that it's 1/8"
above the worktable surface, then insert the end of a 2-1/2"
dust collection hose into the port on the top of the guard.

See How Simple That Was!
Now that you've located and assembled the components you'll need for shaping, CLICK HERE to make an under-table shaping cut.
© SHOPSMITH - DREAM IT! BUILD IT! SHARE IT!


