Better Business Bureau A+ Rating
Technical Support (937) 890-5197
FREE
D-I-Y Support
ENGINEERING
SUPPORT
CUSTOMER
REPAIR

STEP 3: BASIC OPERATION 2 - SANDING TWO BOARDS TO IDENTICAL LENGTH

Before Proceeding, CLICK HERE to see a listing of Safety Rules that will help you avoid Personal Injury.

To view a brief (few-seconds long) video clip of each step being performed click on this icon play video wherever you see it.

Step 1

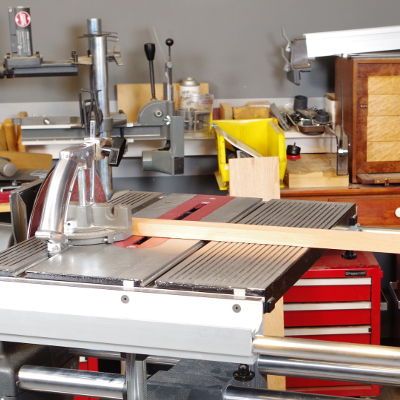
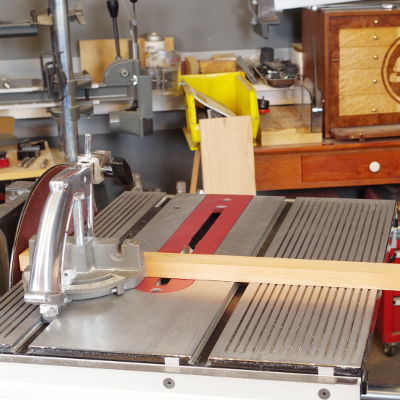
When sanding multiple square-ended boards to identical length, start by setting your worktable at up to 1/2" away from the sanding disc. Use your miter gauge to support the side of your stock -- and your rip fence as a backstop to establish and control the lengths of your pieces.

Be sure your stock extends past the table edge and into the 1/2" gap between the disc and table's edge. play video

Sanding-To-Length Set-Up

Sanding-To-Length Set-Up

Step 2

Here, you will use the quill feed feature of your machine to limit how far the rotating disc moves into the ends of each stationary workpiece you sand. play video

Quill Fee Feature Controls Your Workpiece Lengths

Quill Feed Controls Workpiece Lengths

Step 3

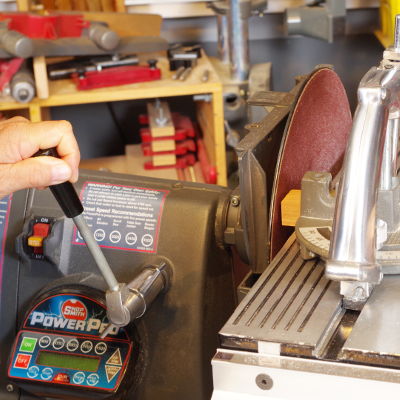
Begin by loosening the quill lock handle on the front side of the headstock...

... and the quill feed stop handle on the back side of the headstock. play video

Loosen Quill Lock Handle

Loosen Quill Lock Handle

Loosen Quill Feed Stop Handle

Loosen Quill Feed Stop Handle

Step 4

Start your machine and using a test board with a pencil line drawn on it to indicate the board length you want... use your quill feed lever to move the disc into your board until it reaches your line.

Turn you machine off and lock your disc into this position by tightening the quill lock handle on the front side of the headstock... limiting the disc travel to this length. play video

Sand Test Board Up To Your Pencil Line

Sand Test Board Up To Your Pencil Line

Tighten Quill Lock Handle

Tighten Quill Lock Handle

Step 5

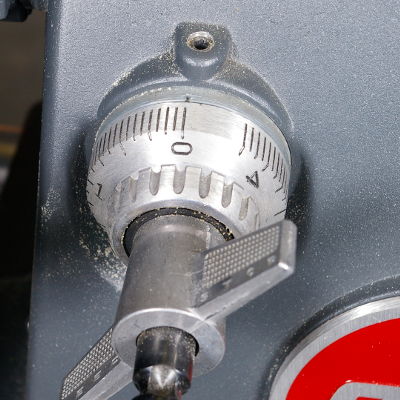
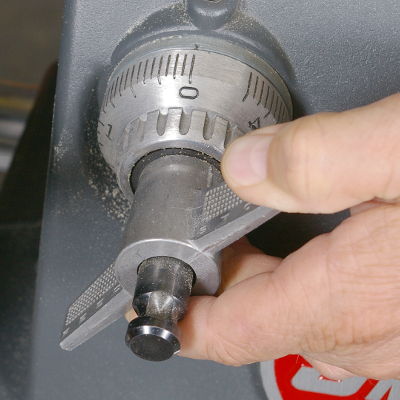
Rotate the quill lock dial to “0”... and lock this setting by tightening the quill feed stock on the back side of the headstock. This will limit the disc travel to this length.

Now, release the quill lock handle on the front side of the headstock. play video

Set Quill Feed Stop to Zero

Set Quill Feed Stop to Zero

Tighten Quill Stop

Tighten Quill Stop

Release Quill Lock

Release Quill Lock

Step 6

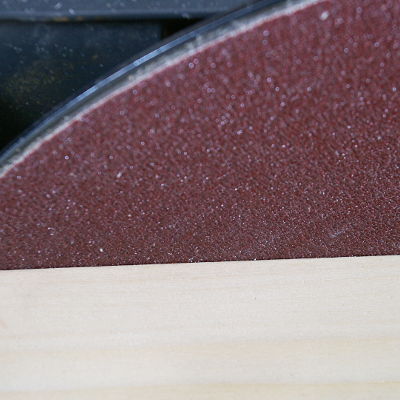
Feed the sanding disc into your first board end until it reaches the limit you set for its established travel distance. Replace your workpiece with another board and repeat for each identical board. play video

Sand You Boards To Your Preset Length

Sand You Boards To Your Preset Length

See How Simple That Was!

Now that you've learned all about your Shopsmith Disc Sander you're ready to move on to the next Woodworking Operation -- using the Shopsmith Lathe. Watch your Mailbox for the Lathe email, Coming soon!

WANT MORE INFORMATION ON DISC SANDING? CLICK HERE!

Getting Started

Welcome to Shopsmith. Please fill in this form and we'll send you more information and special offers for the Shopsmith MARK 7 and other woodworking topics.

Subscribe to our mailing list

* indicates required