Better Business Bureau A+ Rating
Technical Support (937) 890-5197
FREE
D-I-Y Support
ENGINEERING
SUPPORT
CUSTOMER
REPAIR

STEP 2: ASSEMBLING THE LATHE COMPONENTS YOU WILL NEED TO GET STARTED

To view a brief (few-seconds long) video clip of each step being performed click on this icon play video wherever you see it.

Component Assembly Needed For Spindle Turning

Step 1

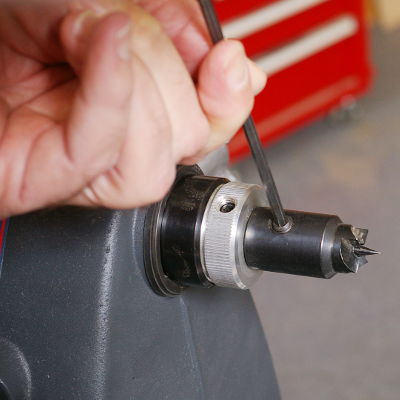
Mount the Lathe Drive Center to the headstock quill spindle. Be sure the setscrew tightens on the spindle flat. Tighten it securely using your 5/32" Allen wrench. play video

Install Drive Center

Install Drive Center

Step 2

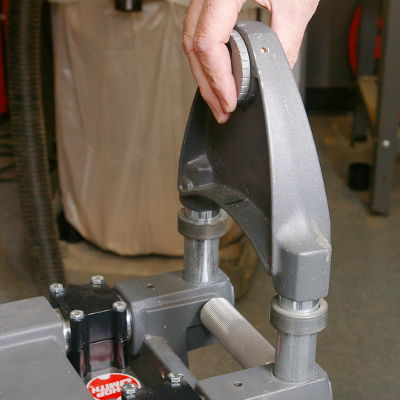
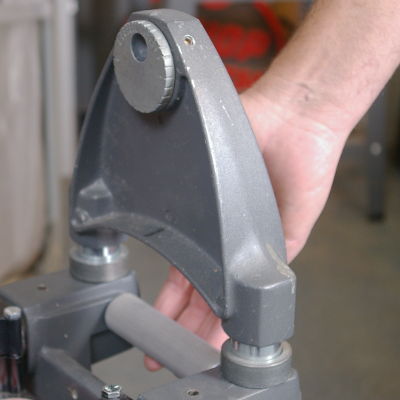
Mount the Tailstock to the base arm on the right end of the machine base and tighten the knurled sleeve & insert assembly. play video

Install Tailstock

Install Tailstock

Tighten Handle

Tighten Handle

Step 3

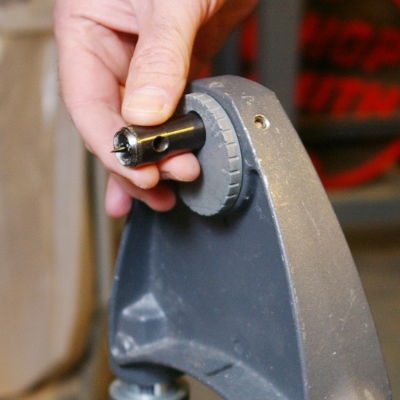
Mount the Tailstock Cup (Dead) Center in the center hole of the tailstock.

Note that a Tailstock Center may already be installed in your tailstock (see photo). play video

Install Cup Center

Install Cup Center

Step 4

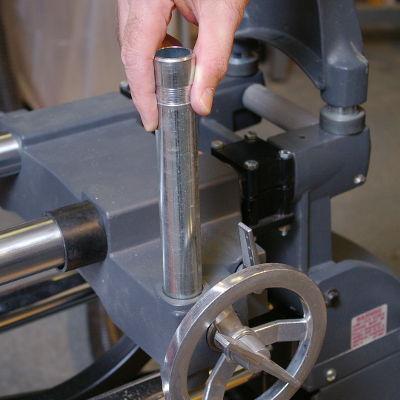
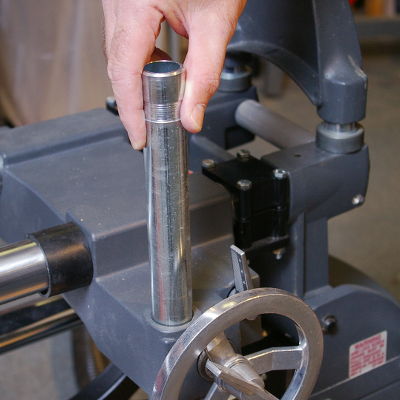
Insert the Lathe Tool Rest Post into the front mounting hole in the carriage.

The following parts (post, arm & tool rest) may already be assembled. play video

Install Tool Rest Post

Install Tool Rest Post

Step 5

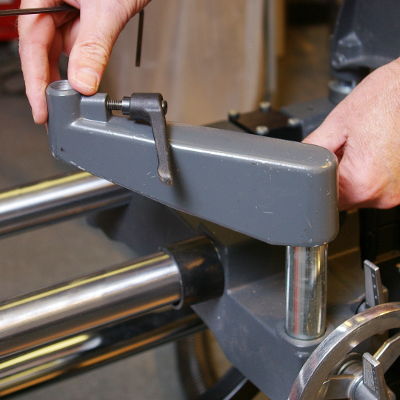
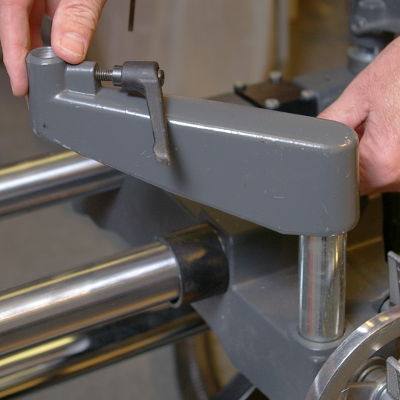
Mount the Tool Rest Arm to the top of the tool rest post and tighten the handle. play video

Mount Tool Rest Arm

Mount Tool Rest Arm

Step 6

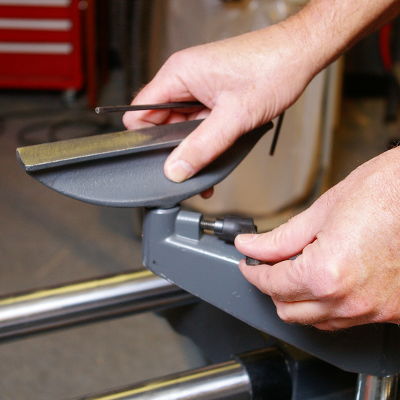
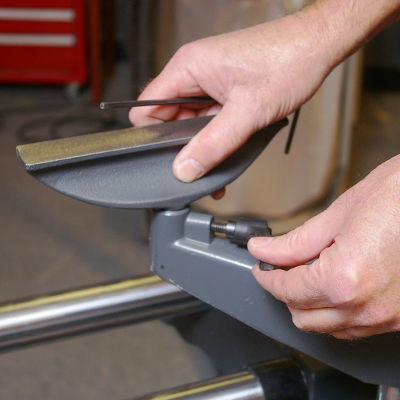
Mount the Lathe Chisel Tool Rest to the top of the tool rest arm and tighten the handle play video

Mount Tool Rest

Mount Tool Rest

Step 7

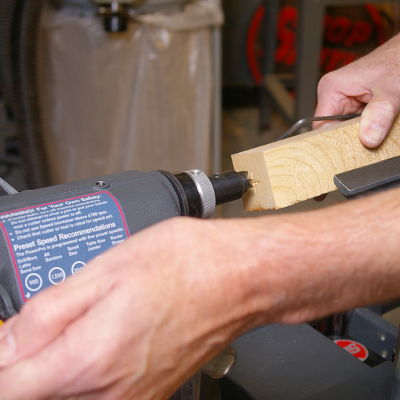
Position the stock between the two centers, advance the quill with FIRM pressure to solidly seat the stock between the 2 centers and lock the quill into position. SAFETY NOTE: It is often necessary to seat the drive center into one end of the wood by striking it with a mallet to be certain the center spurs have a good bite on your stock. If necessary, this would have to be done BEFORE you position the stock between the two centers. play video

Position Stock

Position Stock

Component Assembly Needed For Faceplate Turning

NOTE: With Faceplate (unlike Spindle Turning) the actual turning process must begin by mounting your workpiece (turning blank) to the primary faceplate turning component… the faceplate.

Step 1

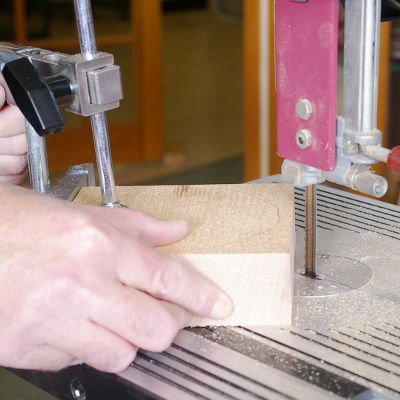
Start by rounding your turning blank on the bandsaw or by making a succession of 45° cuts on the table saw to approximate a rounded blank. play video

Round Turning Stock

Round Turning Stock

Step 2

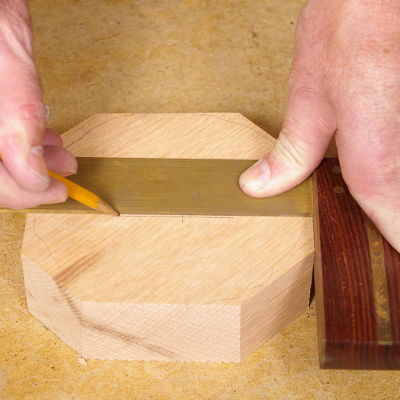
Locate and mark the center of your turning blank on its back side. play video

Mark Centerpoint

Mark Centerpoint

Step 3

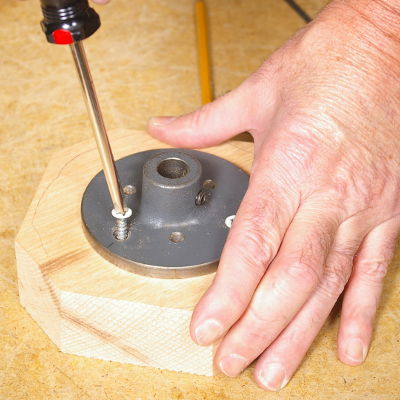
Lay your turning blank front-side-down on your workbench, position your faceplate over your center mark and securely screw your faceplate to the back side of your turning blank. play video

Mount To Faceplate

Mount To Faceplate

Step 4

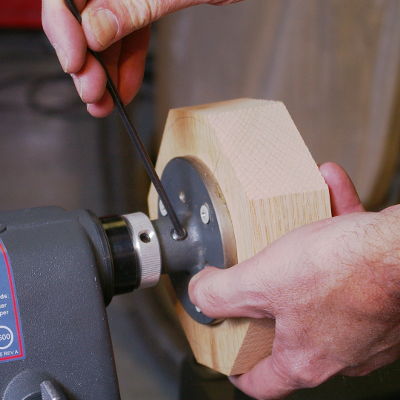
Mount your Faceplate (with workpiece attached) to the lathe's quill spindle and secure it with Allen setscrew. play video

Mount Faceplate To Quill

Mount Faceplate To Quill

Step 5

Insert the Lathe Tool Rest Post into the front mounting hole in the carriage.

The following parts (post, arm & tool rest) may already be assembled. play video

Insert Tool Rest Post

Insert Tool Rest Post

Step 6

Mount the Tool Rest Arm to the top of the tool rest post and tighten the handle. play video

Install Tool Rest Arm

Install Tool Rest Arm

Step 7

Mount the Lathe Chisel Tool Rest to the top of the tool rest arm and tighten the handle. play video

Install Tool Rest

Install Tool Rest

See How Simple That Was!

Now that you've located and assembled the lathe turning components, it's time to get into the basic lathe turning instruction you need to start turning.

Getting Started

Welcome to Shopsmith. Please fill in this form and we'll send you more information and special offers for the Shopsmith MARK 7 and other woodworking topics.

Subscribe to our mailing list

* indicates required