


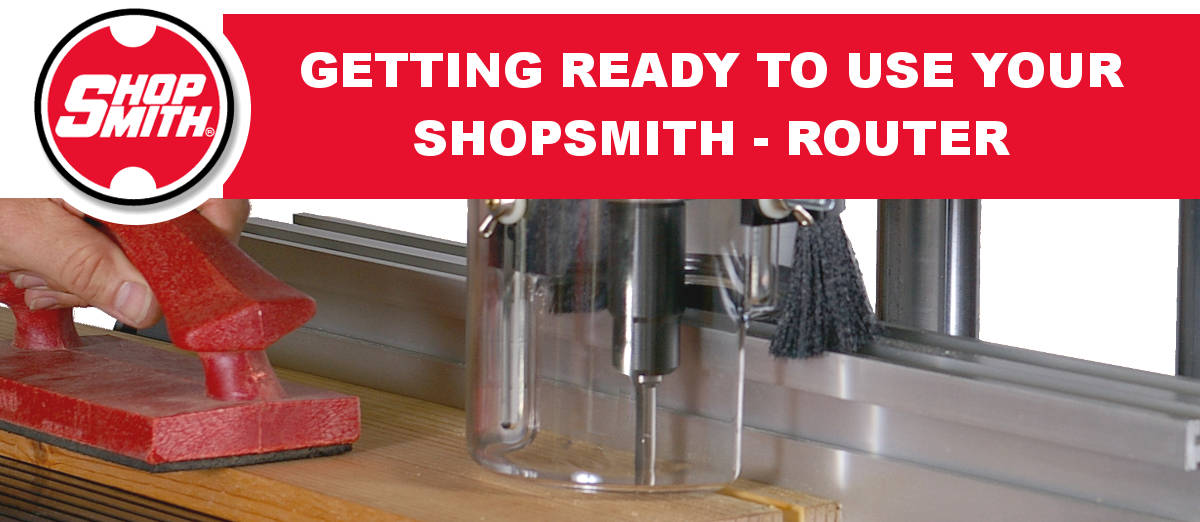
Getting Ready To Use The Over Table Router
Hello Again,
By now, you should have seen the the following topics in our special Getting Started in woodworking with your Shopsmith series, including our brand new Getting Started Videos. So far, you should have seen: • An Introduction & Welcome page; • A Getting to Know Your Machine page; • A Getting Ready to Use Your Machine page; • Using the Table Sawing page • Using the Vertical Drill Press page • Using the Horizontal Boring Machine page • Using the Disc Sander page and • Using the Lathe page.
Today's Topic: Over-Table Routing
This topic is the sixth of seven in an information-packed series of machine-specific session highlighting the 7 primary woodworking tools. You will learn all about the capabilities of your Shopsmith Over-Table Router -- and then you will be taken through your first, fun-filled experience of using this unique, feature-packed machine.
Start by watching our Getting Started in Woodworking Video then follow the 3 steps below
STEP 1: IDENTIFY THE OVER-TABLE ROUTING COMPONENTS YOU WILL NEED
Every Shopsmith Machine model comes equipped with a collection of components and accessories for each tool operation. But before you Get Started, we'll need to be sure you have the appropriate components for each machine you own. You might remember in our earlier topic, Getting to know your Machine, we helped you identify your machine model.
Select your Machine Model Below to find a list of all the components you will be needing for routing.


Once you have done that, gather the parts together that you will need for Over Table Routing.
What's the Difference Between Over-Table Routing and Under-Table Routing?
The Shopsmith Over-Table Router is different than its more conventional UNDER table counterparts, in that it performs its operations with its router bit suspended ABOVE the workpiece. One of the advantages to this approach is that your bit is always in plain view -- even when making cuts that would be blind if they were being made with an UNDER-table router.
STEP 2: REVIEW THE 14-STEP APPROACH FOR ASSEMBLING AND SETTING-UP THE COMPONENTS YOU WILL NEED FOR OVER-TABLE ROUTING

STEP 3: Now, let's route a 1/2" sliding dovetail slot:
See How Simple That Was!
Now that you've learned all about your Over-Table Routing, you're ready to move on to the next Woodworking Operation -- using the Under-Table Shaping.
WANT MORE INFORMATION ON ROUTING? CLICK HERE!
Best Regards,

Robert Folkerth
President
Shopsmith
© SHOPSMITH - DREAM IT! BUILD IT! SHARE IT!