


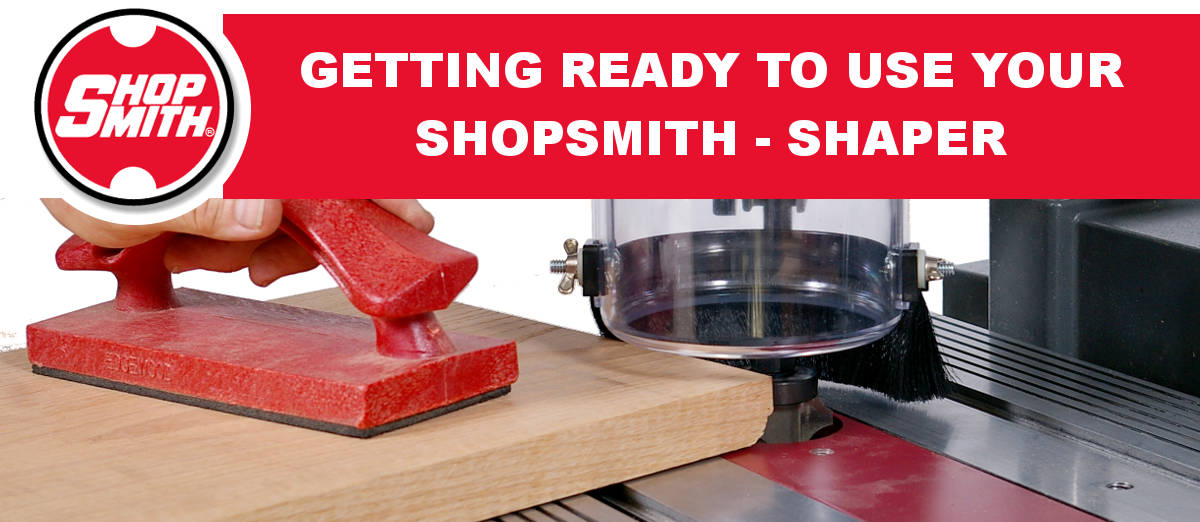
Getting Ready To Use The Shaper
Hello Again,
By now, you should have seen the the following topics in our special Getting Started in woodworking with your Shopsmith series, including our brand new Getting Started Videos. So far, you should have seen: • An Introduction & Welcome page; • A Getting to Know Your Machine page; • A Getting Ready to Use Your Machine page; • Using the Table Sawing page • Using the Vertical Drill Press page • Using the Horizontal Boring Machine page • Using the Disc Sander page and • Using the Lathe page and • Using the Over-Table Router page.
Today's Topic: Under-Table Shaping
This topic is the seventh of seven in an information-packed series of machine-specific session highlighting the 7 primary woodworking tools. You will learn all about the capabilities of your Shopsmith Under-Table Shaper -- and then you will be taken through your first, fun-filled experience of using this unique, feature-packed machine.
Start by watching our Getting Started in Woodworking Video then follow the 3 steps below
STEP 1: IDENTIFY THE UNDER-TABLE SHAPING COMPONENTS YOU WILL NEED
Every Shopsmith Machine model comes equipped with a collection of components and accessories for each tool operation. But before you Get Started, we'll need to be sure you have the appropriate components for under-table shaping with the MARK 7. Important Note: Unlike the other operations that we have covered thus far, under-table shaping can only be performed on Shopsmith's MARK 7 machine, or earlier MARKs that have been upgraded with the optional double-tilt base.
Click the button below to find a list of all the components you will be needing for under-table shaping.

Once you have done that, gather the parts together that you will need for Under Table Shaping.
WARNING:
If you have a Shopsmith Lift Assist installed on your machine, you must first disconnect the gas cylinder from the upper mount by using the lift assist's quick-release feature. Failure to do so and attempting to raise the machine into the inverted vertical position - will create a safety hazard and could damage your machine, as well.
STEP 2: REVIEW THE 16-STEP APPROACH FOR ASSEMBLING AND SETTING-UP THE COMPONENTS YOU WILL NEED FOR UNDER-TABLE SHAPING

STEP 3: Now, let's shape a decorative edge:
See How Easy and Painless This Learning Process Has Been!
With this email, you've now been through the complete series about learning to use the 7 basic machine functions of the Shopsmith MARK 7. We hope that you've found the series to be both informative and enjoyable.
Now, the only thing left to do to build your Shopsmith woodworking machine skills is to pick a project you've been thinking about (or have your significant other pick one FOR you) and get started. Just remember, there no reason to be fearful about woodworking. Think about each project you create as a series of quick, easy-to-build smaller projects that all join together once they're completed.
For generations, woodworking has remained one of America's favorite pastimes and now that you have the best tool to work with, we're all hoping that it will quickly become one of yours, as well.
WANT MORE INFORMATION ON SHAPING? CLICK HERE!
Best Regards,

Robert Folkerth
President
Shopsmith
© SHOPSMITH - DREAM IT! BUILD IT! SHARE IT!