Better Business Bureau A+ Rating
Technical Support (937) 890-5197
FREE
D-I-Y Support
ENGINEERING
SUPPORT
CUSTOMER
REPAIR

STEP 2: ASSEMBLING THE ROUTER COMPONENTS YOU WILL NEED TO GET STARTED

To view a brief (few-seconds long) video clip of each step being performed click on this icon play video wherever you see it.

Step 1

Start by positioning the headstock approximately 18" from the power base mount on the left-hand side of the machine. play video

Position Headstock

Position Headstock

Step 2

Slide the carriage all the way to the left on the way tubes so it is up against the headstock and secure the carriage lock handle. play video

Position Carriage

Position Carriage

Step 3

Position worktable surface just above the top of the headstock and tighten the table height lock. play video

Adjust Table Height

Adjust Table Height

Step 4

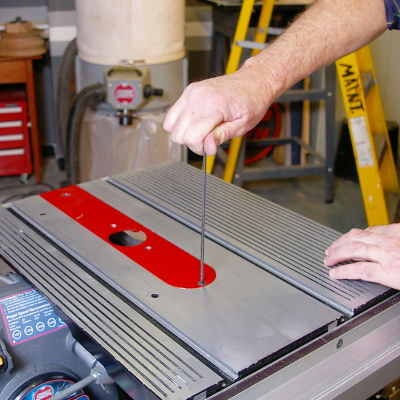
Using your 5/32" Allen wrench, remove the sawing table insert and replace it with the router/shaper table insert. play video

Install Router Table Insert

Install Router Table Insert

Step 5

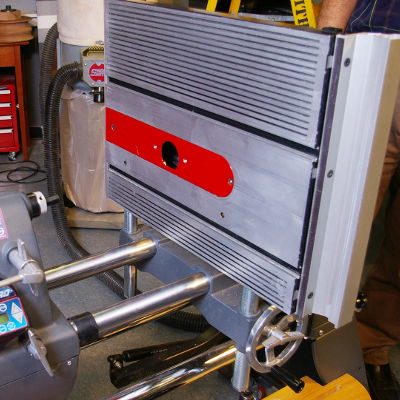
Loosen the table tilt lock, tilt the table 90° to the left and tighten the table tilt lock. play video

Tilt Table

Tilt Table

Step 6

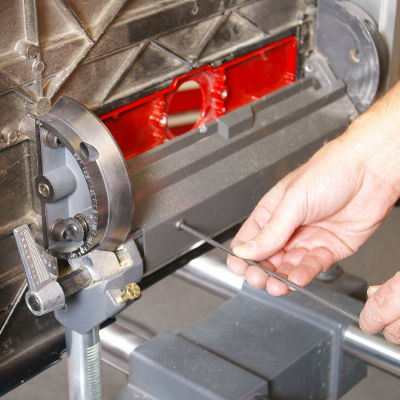
Use your 5/32" Allen wrench to remove the plastic tie bar guard that is attached to the tie bar underneath the worktable. NOTE: This guard is provided for table sawing operations and is therefore unnecessary for use during over-table routing. play video

Remove Tie Bar Guard

Remove Tie Bar Guard

Step 7

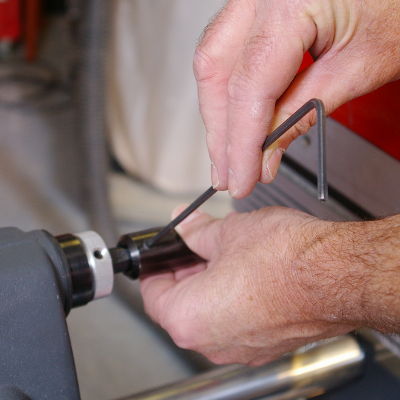
Slip the router chuck onto the main spindle and use your 5/32" Allen wrench to tighten it against the spindle flat. NOTE: There are three setscrews on the router chuck. The one at the large diameter end of the arbor is used to secure the arbor to the main spindle. play video

Install Router Chuck

Install Router Chuck

Step 8

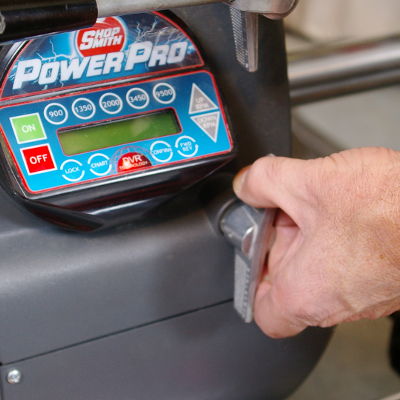
Check the headstock lock, the carriage lock handle, the table height lock and the table tilt lock to ensure that they are securely tightened. play video

Check Locks

Check Locks

Step 9

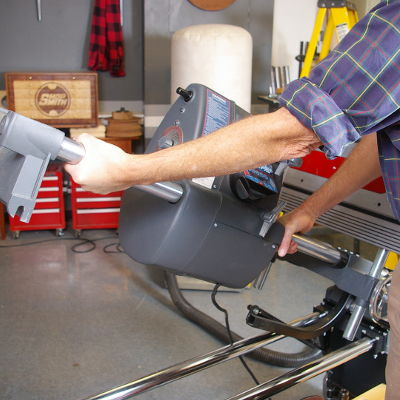
Loosen the locking knob on the power base mount at the left end of the way tubes (on the Mark V, lift the headrest handle to release the way tubes), then grasp the way tubes on the left side of the machine and raise the tubes and the machine into their vertical position. Tighten the base lock on the front side of the machine. play video

Raise Into Vertical Position

Raise Into Vertical Position

Step 10

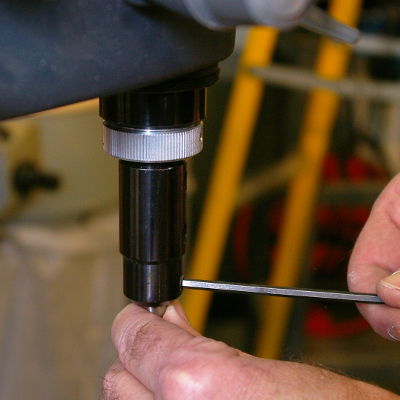
Insert a 3/8" diameter straight router bit into your router chuck and securely tighten both of the remaining two setscrews play video

Insert Router Bit

Insert Router Bit

Step 11

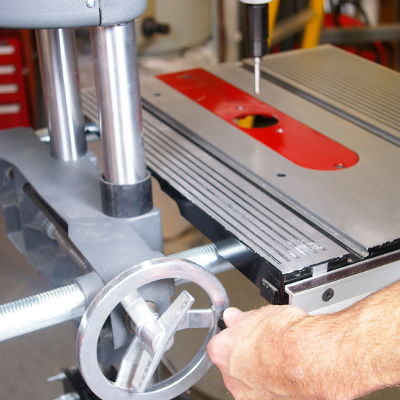
Loosen the quill feed lock and the table height lock. With one hand, use the quill feed handle to lower the router chuck down into the hole in the router/shaper table insert. At the same time, with the other hand, use the table height crank handle to move the worktable in-and-out until the router chuck is centered in the hole of the router/shaper table insert. Secure the table height lock. play video

Adjust Table Position

Adjust Table Position

Step 12

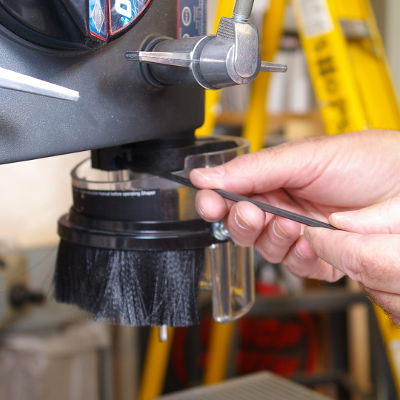
Mount the router shield on the quill so the shield's collar butts up against the quill stop collar. Tighten the shield collar setscrew to secure the guard in place play video

Install Router Shield

Install Router Shield

Step 13

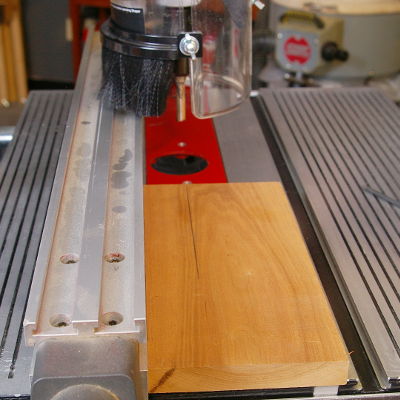
Attach your rip fence to the worktable between the way tubes and your router chuck. Position the fence so your workpiece will be in alignment with the intended cutting path of your router bit. NOTE: You can use the table height crank to move the worktable in or out to make fine adjustments to your cutting path. Be sure to keep your router bit within the hole of the table insert. play video

Install Fence

Install Fence

Step 14

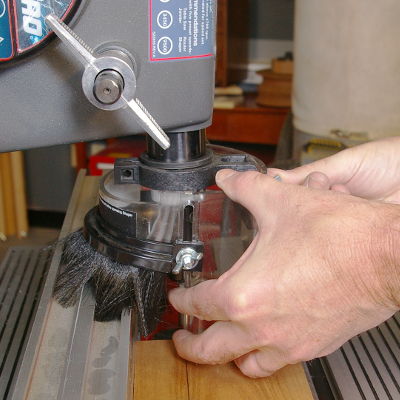
You'll need to adjust your router shield to the correct height by loosening the wing nut on the front of the shield and lowering it so that the bottom of the shield is approximately 1/8" above the workpiece. Then, loosen the wing nuts on both sides of the shield and lower the shield's brush assembly so that it is about 1/8" above the workpiece surface. play video

Adjust Router Shield

Adjust Router Shield

See How Simple That Was!

Now that you've located and assembled the components you'll need for routing, CLICK HERE to use the router for a sliding dovetail cut.

Getting Started

Welcome to Shopsmith. Please fill in this form and we'll send you more information and special offers for the Shopsmith MARK 7 and other woodworking topics.

Subscribe to our mailing list

* indicates required